Context
This is a work in progress in collaboration with a team of programmers.
As a technical and VFX artist, my task is to elaborate the entire project workflow keeping in mind the limited performances for the final release on Steam.
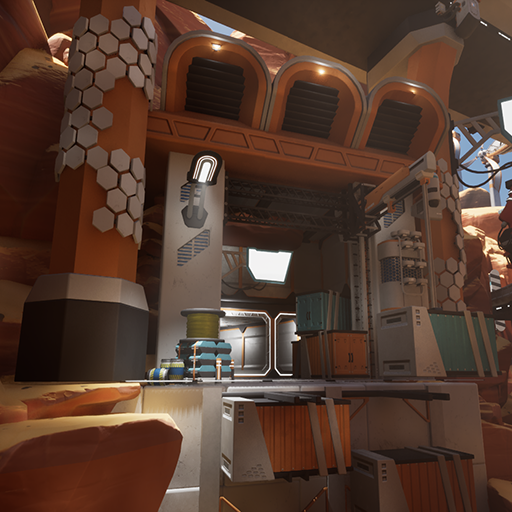
Storm Core is a third person shooter in which you incarnate a cyborg that hunts creatures on an hostile planet.
Challenge
Make a game that runs on PC for the largest audience.
This game has 6 types of weather that changes the atmosphere.
The objective is to produce a vast environment within a year.
Solution
Anticipate the most optimized workflow to reach the best performance.
Register every weather in a manager to set the weather efficiently.
Using PCG and Houdini with Unreal is a great solution for a quick level building and iteration process.
Volume texture packer

VT Packer
The clouds shader that we made uses a volume texture asset.
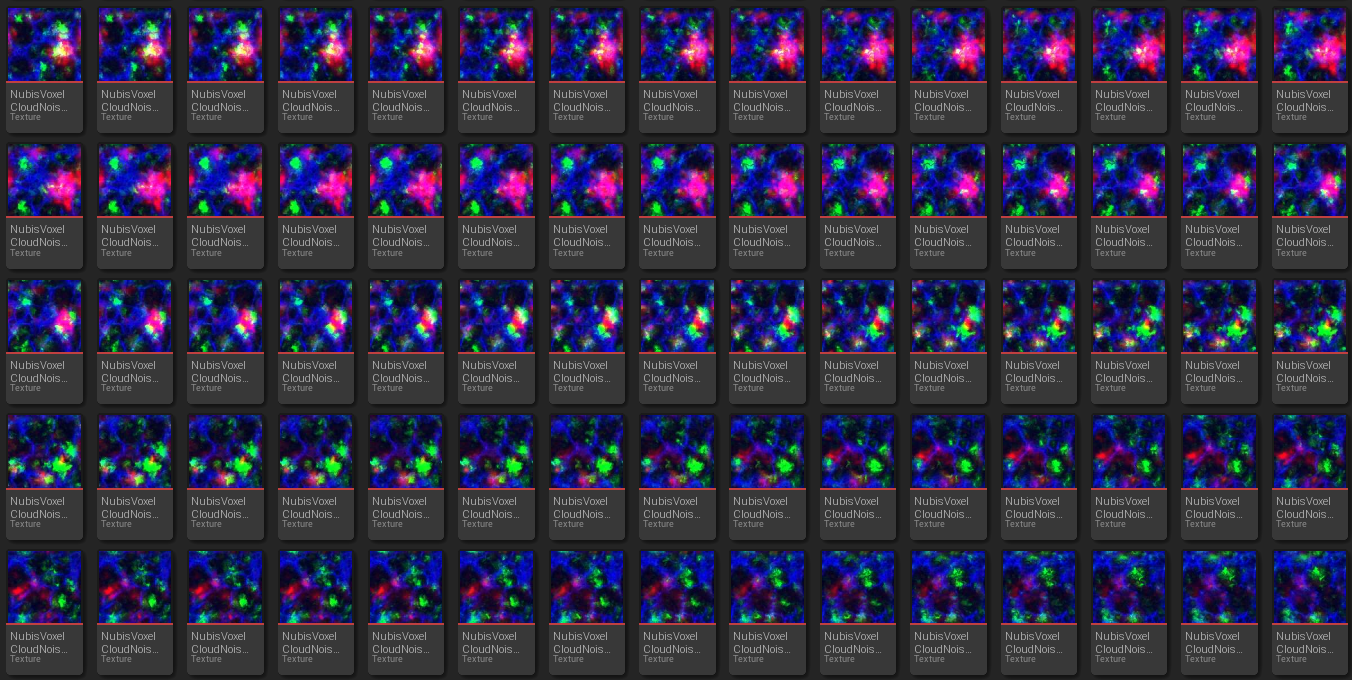
One of the team member provides 128 individuals textures that represent a volume in 3D space.
I was asked to make an in-engine tool that packed all individuals textures into one volume texture.

Editor utility blueprint
In order to create this tool, I have used the unreal editor utility blueprint capabilities.
This one allowed me to interact with the engine ecosystem as the editor Subsystem.

Iteration process
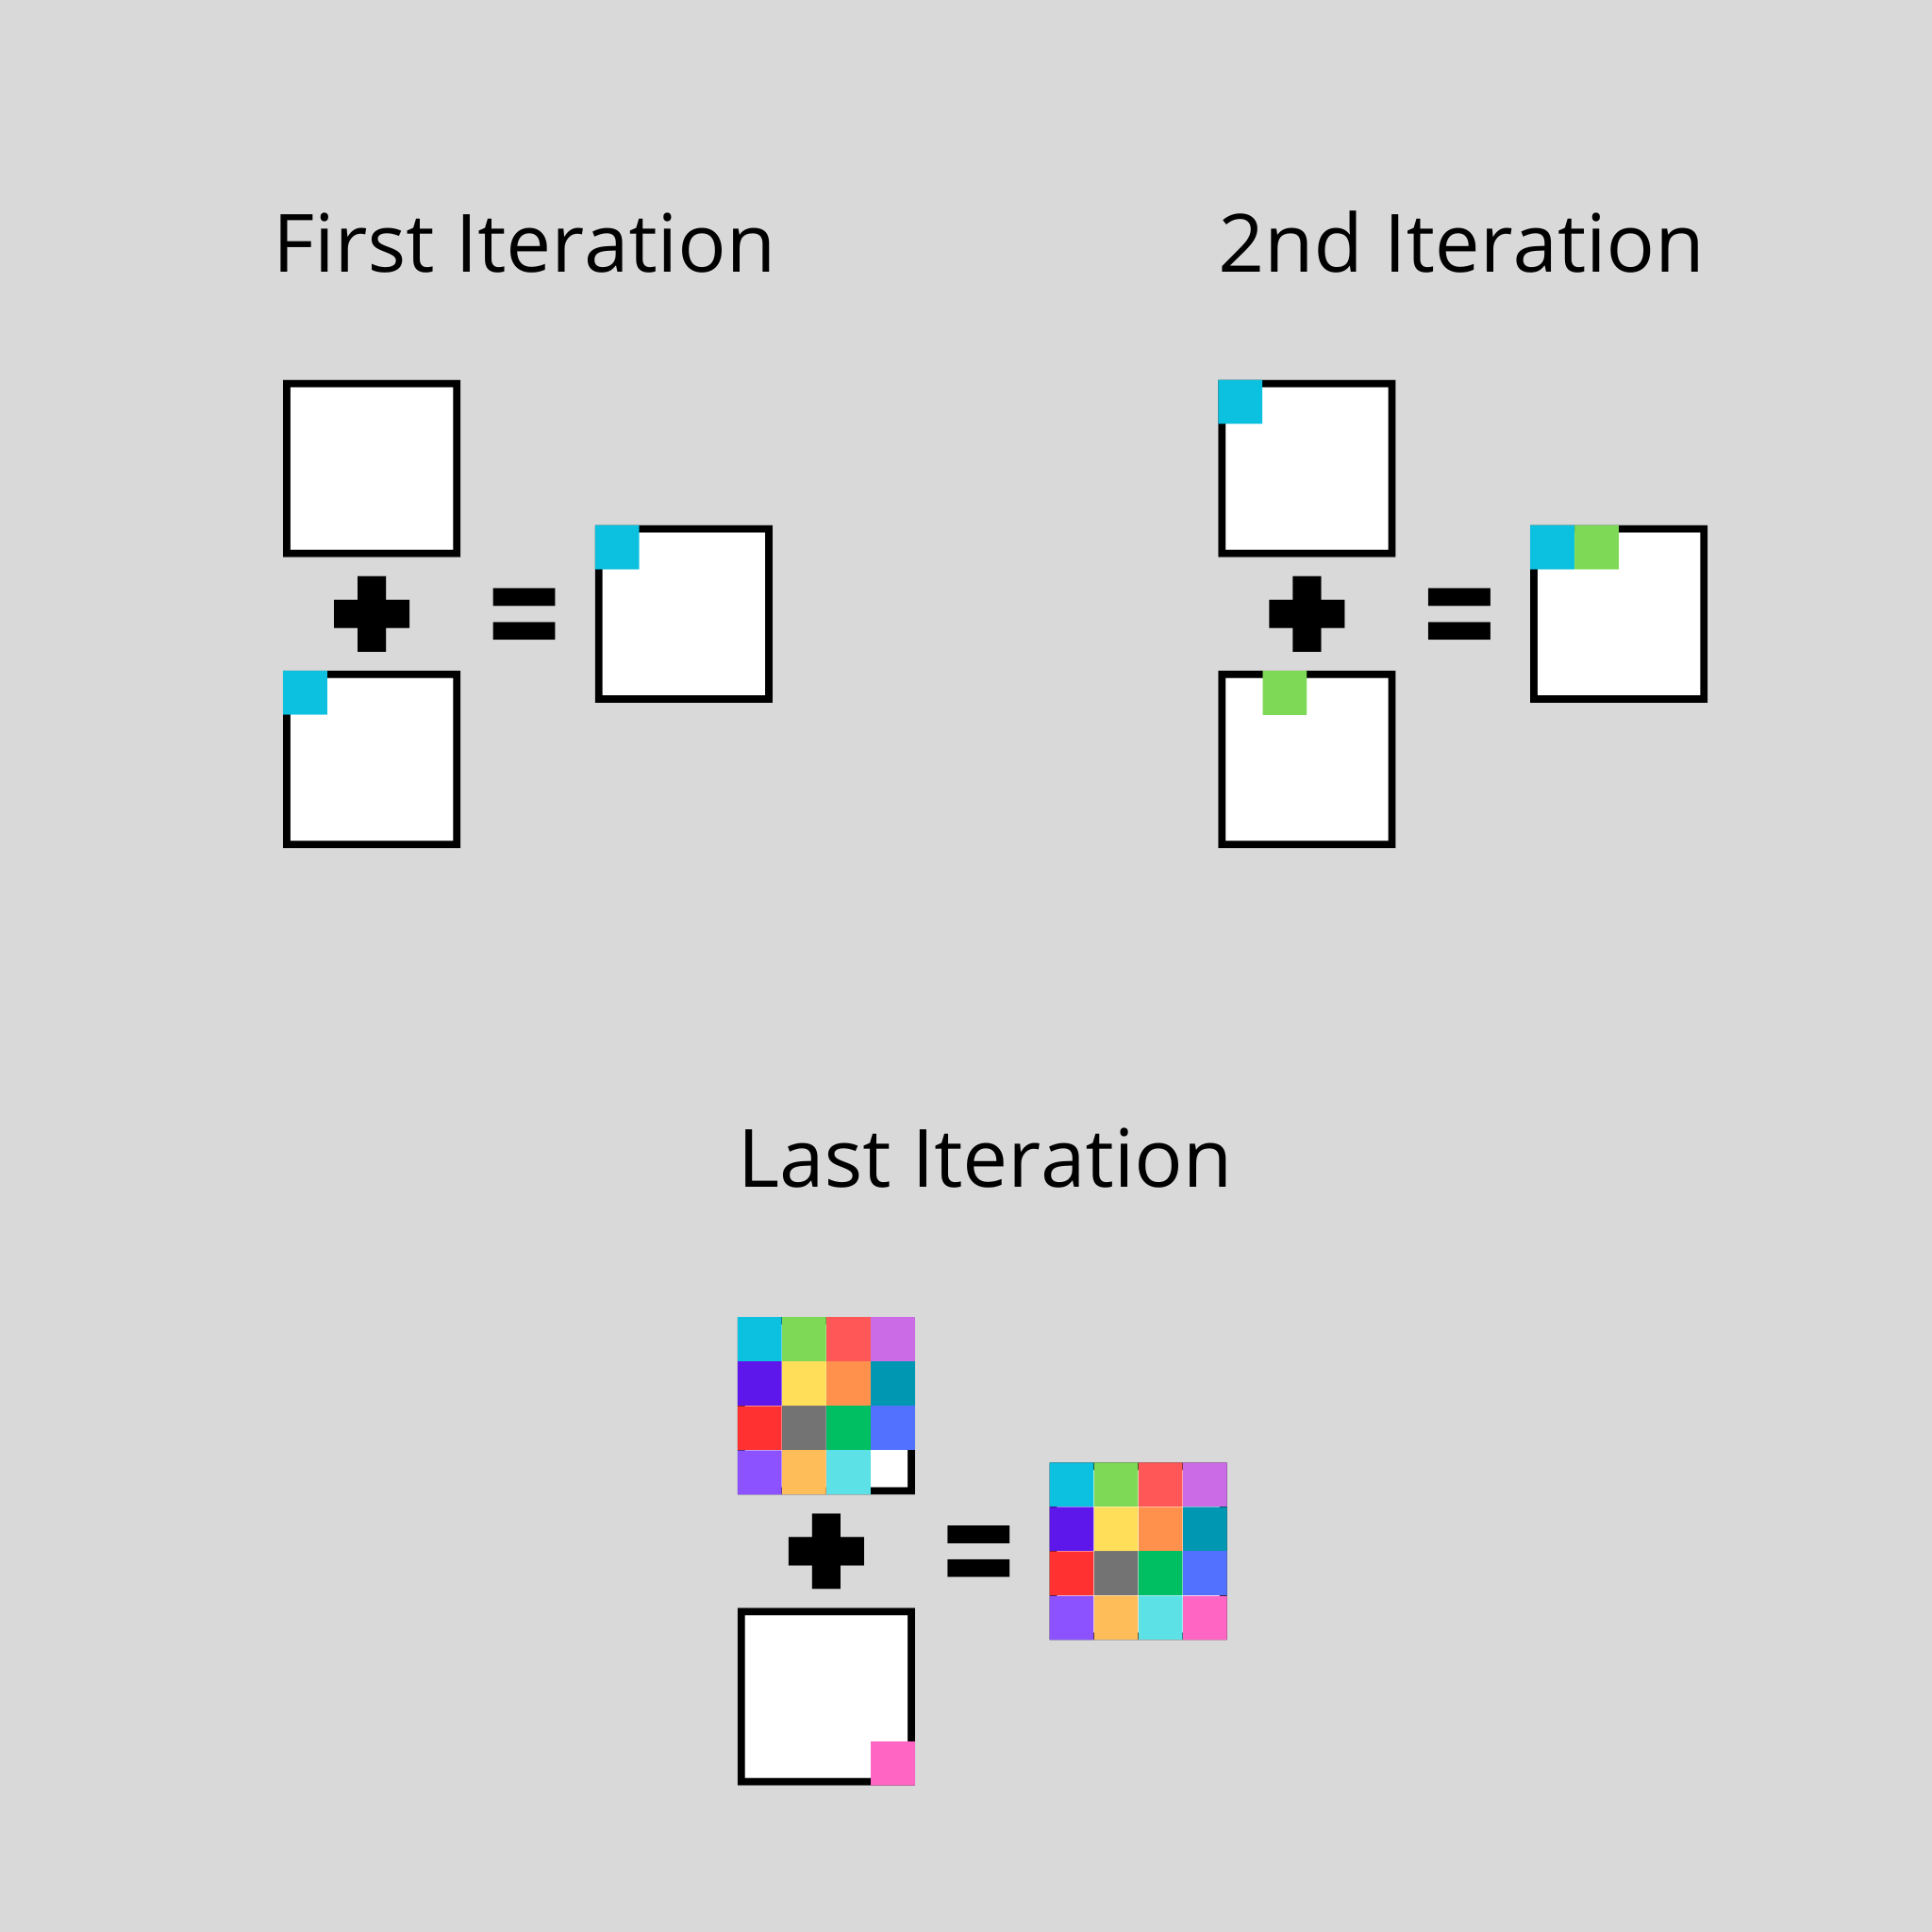
This system is using an iteration method to create the desired texture volume.
The material to draw on the render target uses two entries, one for the current texture to draw, and the other one to store the previous created texture.

Shader
To make the iteration process functional in Shader, I have made a custom shader that can map the current texture to the desired location with an index variable
On the left is the masking system that is mapped to a full UV coordinate to fully fit inside it.

Result
On the right you can see the final result once the created texture is converted to a volume texture asset.
Houdini

Slope generation
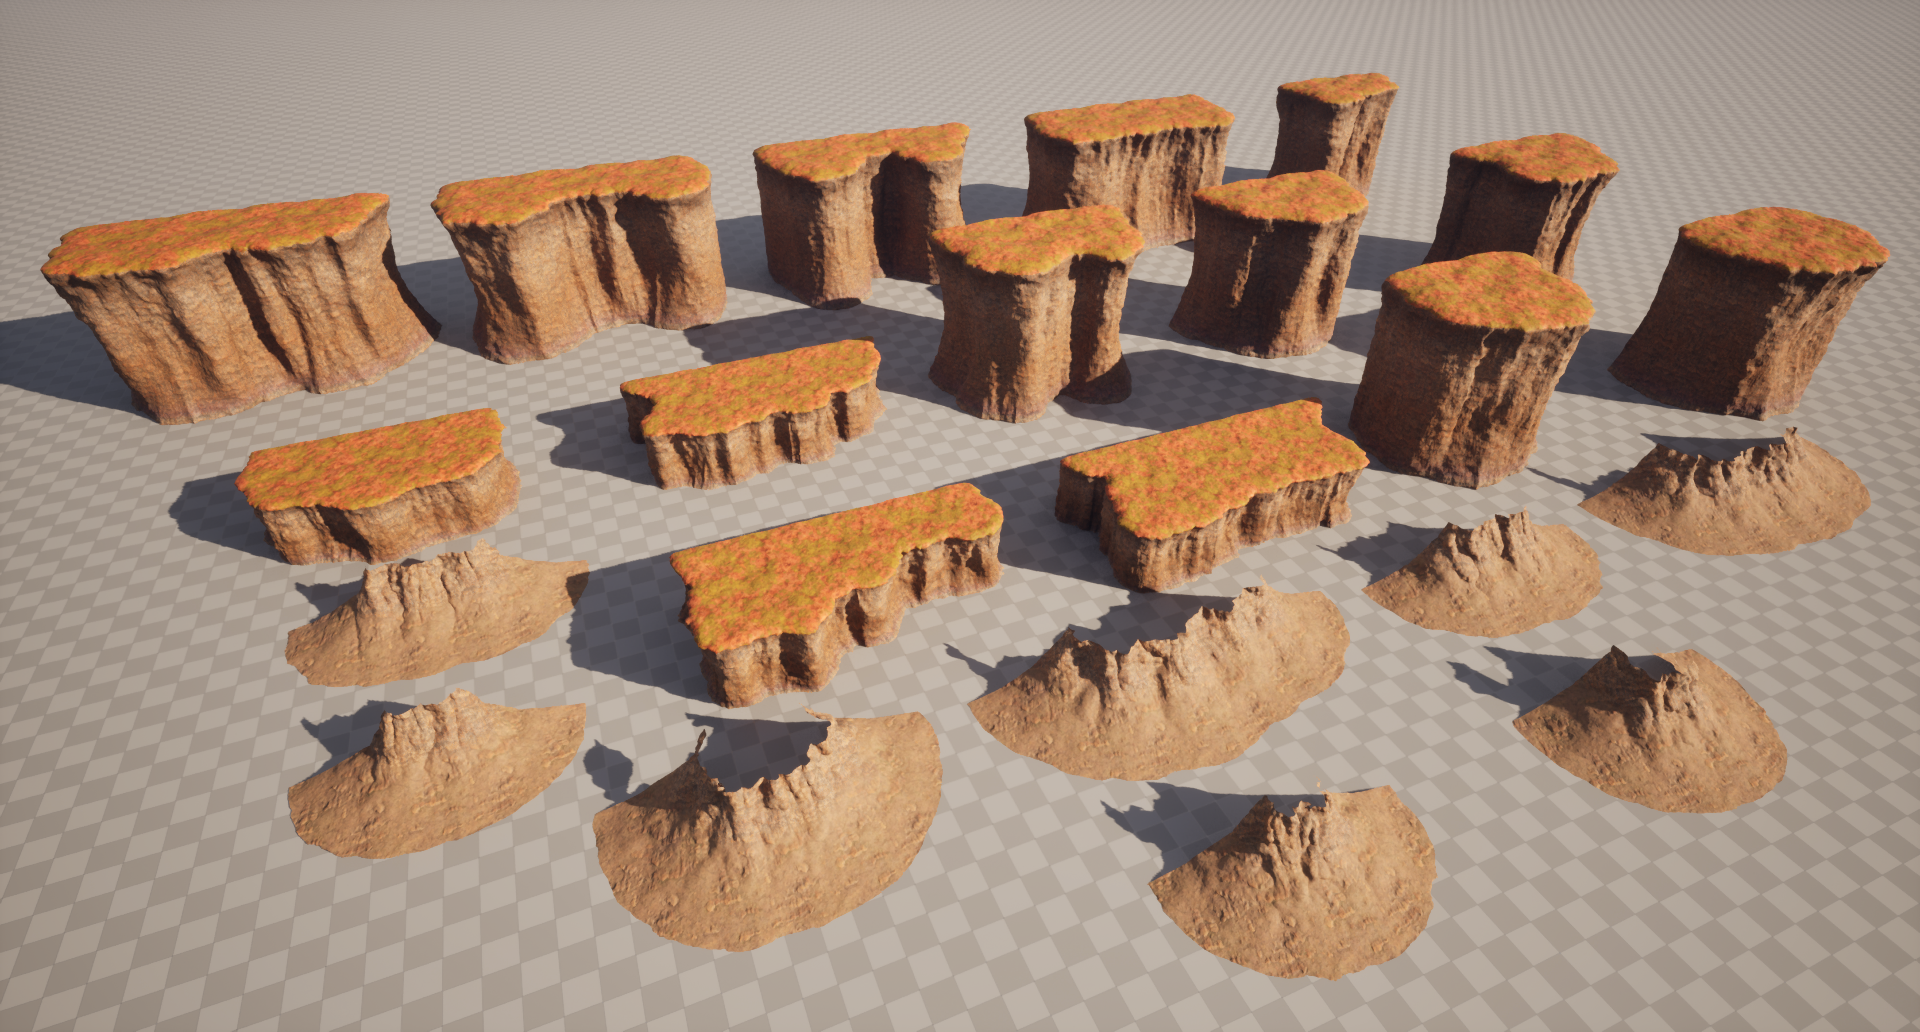
For this project, I have used procedural generation to make terrain meshes in Houdini to save production time.
I have chosen the HDA format for a quick iteration process and customized it for a better ergonomic use.

Generation process
As slopes will be mostly used for terrain profiles, I have chosen the drawcurve node to make the basic generation shapes.
This method will provide great flexibility later on.
After handrawing the curve, I have made a cleaning path in order to overide the user draw flaws.
With the basic shape generated, I have made a pass of VDB to generate a clean and subdivided mesh for the displacement step.

Displacement
The displacement was made using an attribute Vop Node.
Inside of it, I have calculated a height gradient from the mesh bounding Box to make the slope profile.
By mixing noises with procedural masking zone influence, the most of the shape is done.

Vertex Color
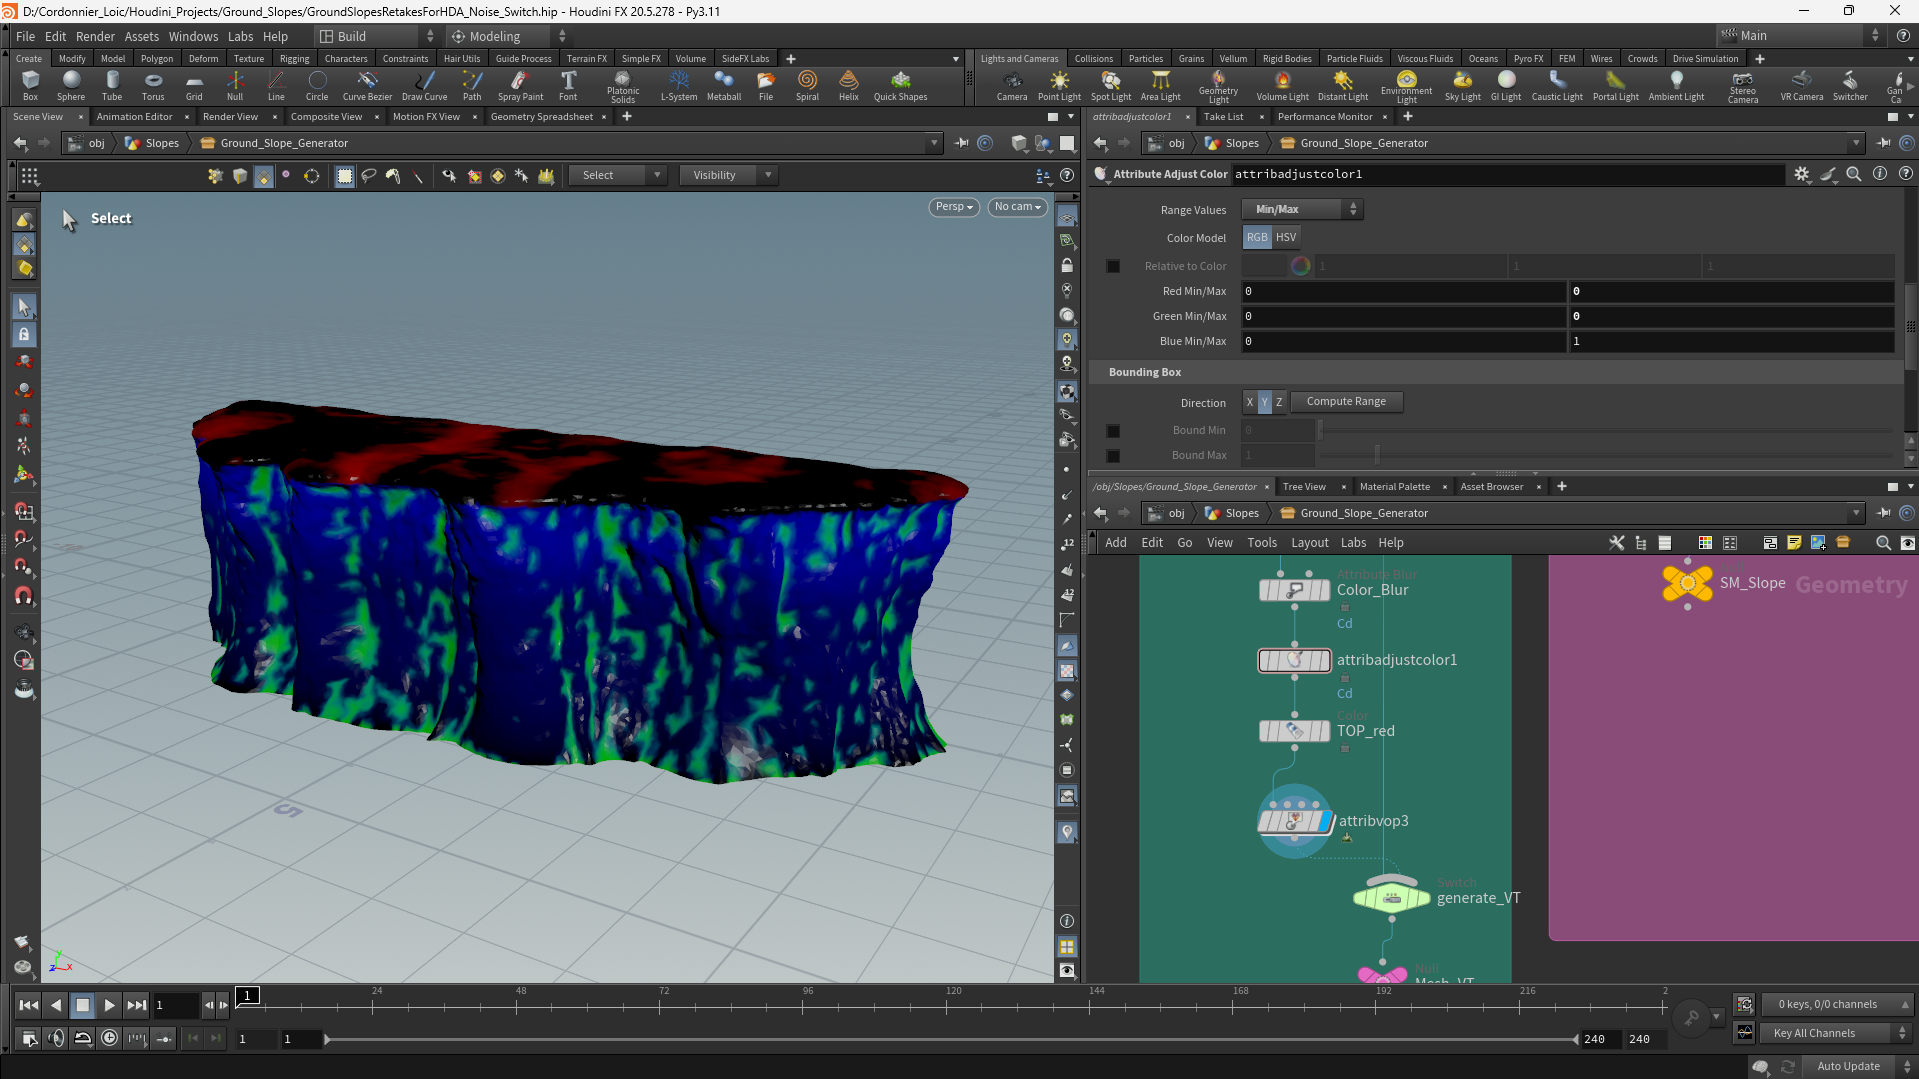
In order to assign materials, I have resorted to the vertex color method.
The top of the slope is grouped in the red channel, and the normalized height gradient in the blue channel for the curve color mapping in Unreal. The green channel is mapped for curvature purposes.

Procedural UV
The UV is automatically unwrapped with two main rules :
– The first one is to unwrap the previously created top group in one island and the body in another.
– The second one is to respect the Texel density of 512 per square meters using the Labs texel density node.
This method is possible as the mesh is using tileable textures and not a custom texture. That way, the UV shell can be scaled outside the classic UV bounds to respect the texel density.

Result
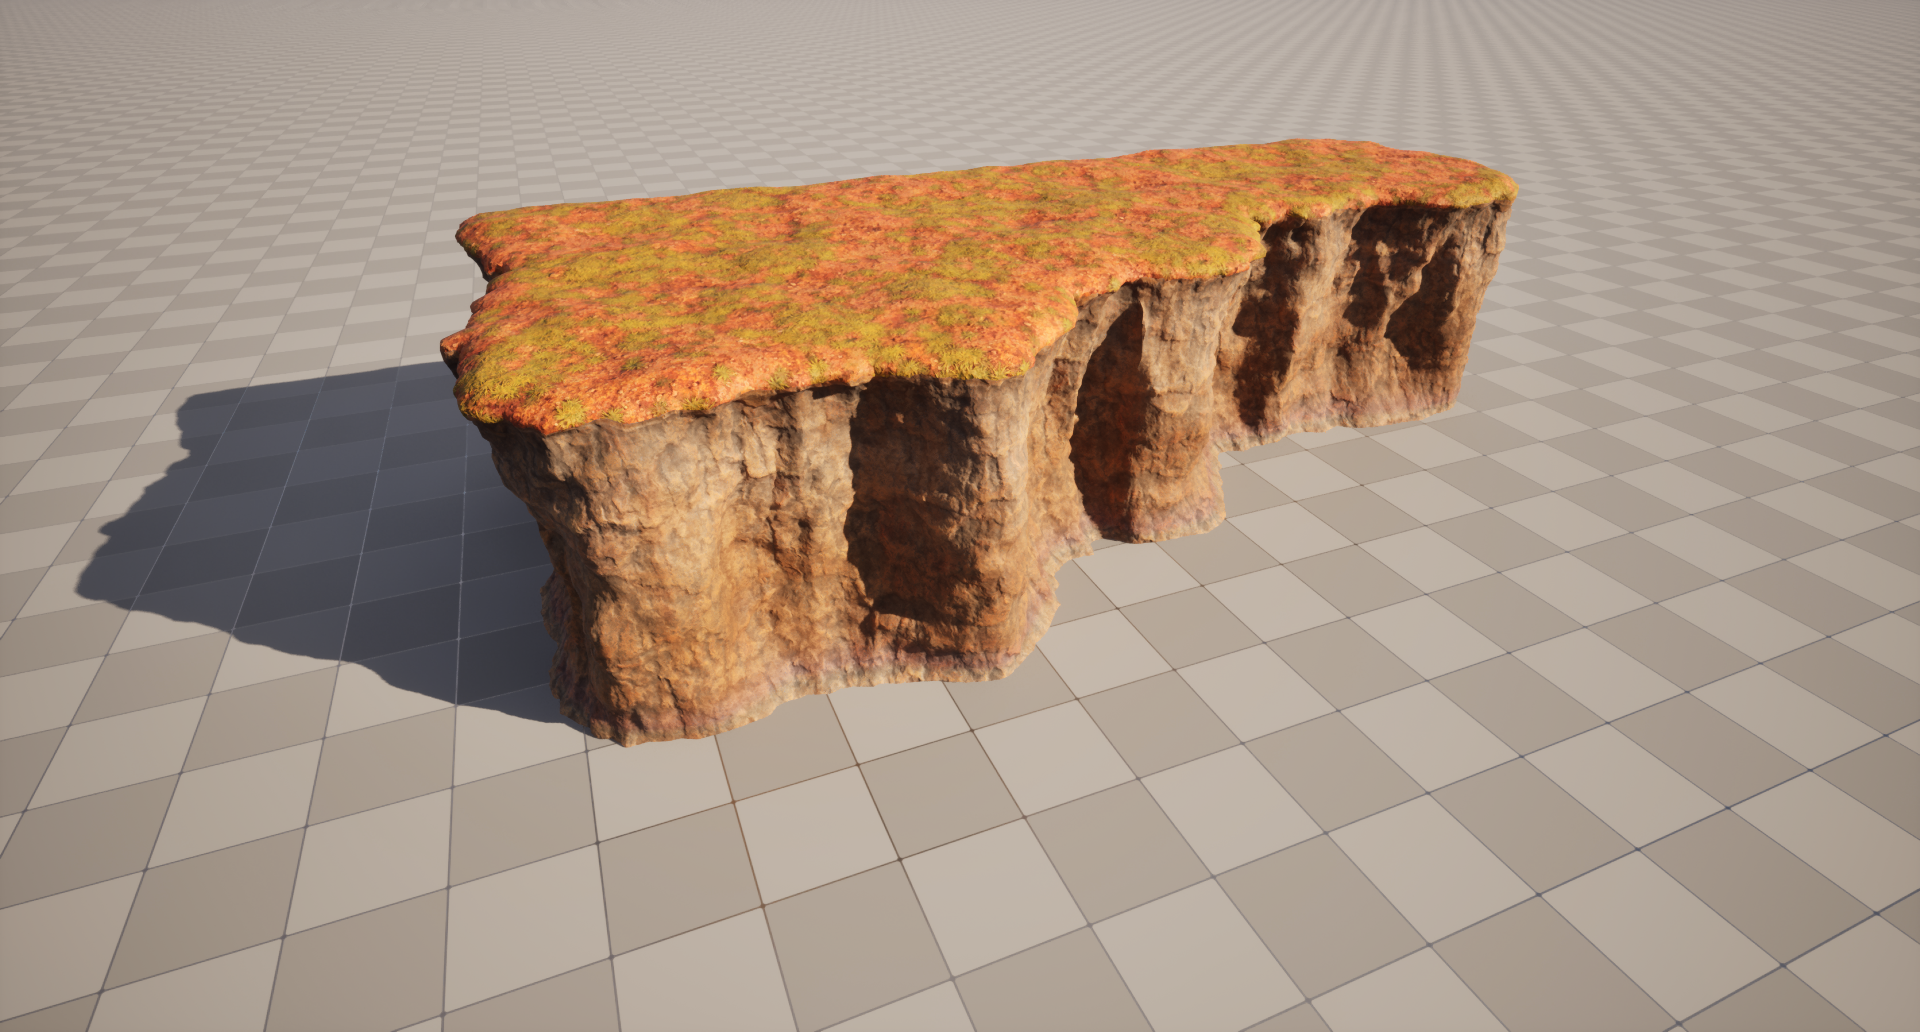
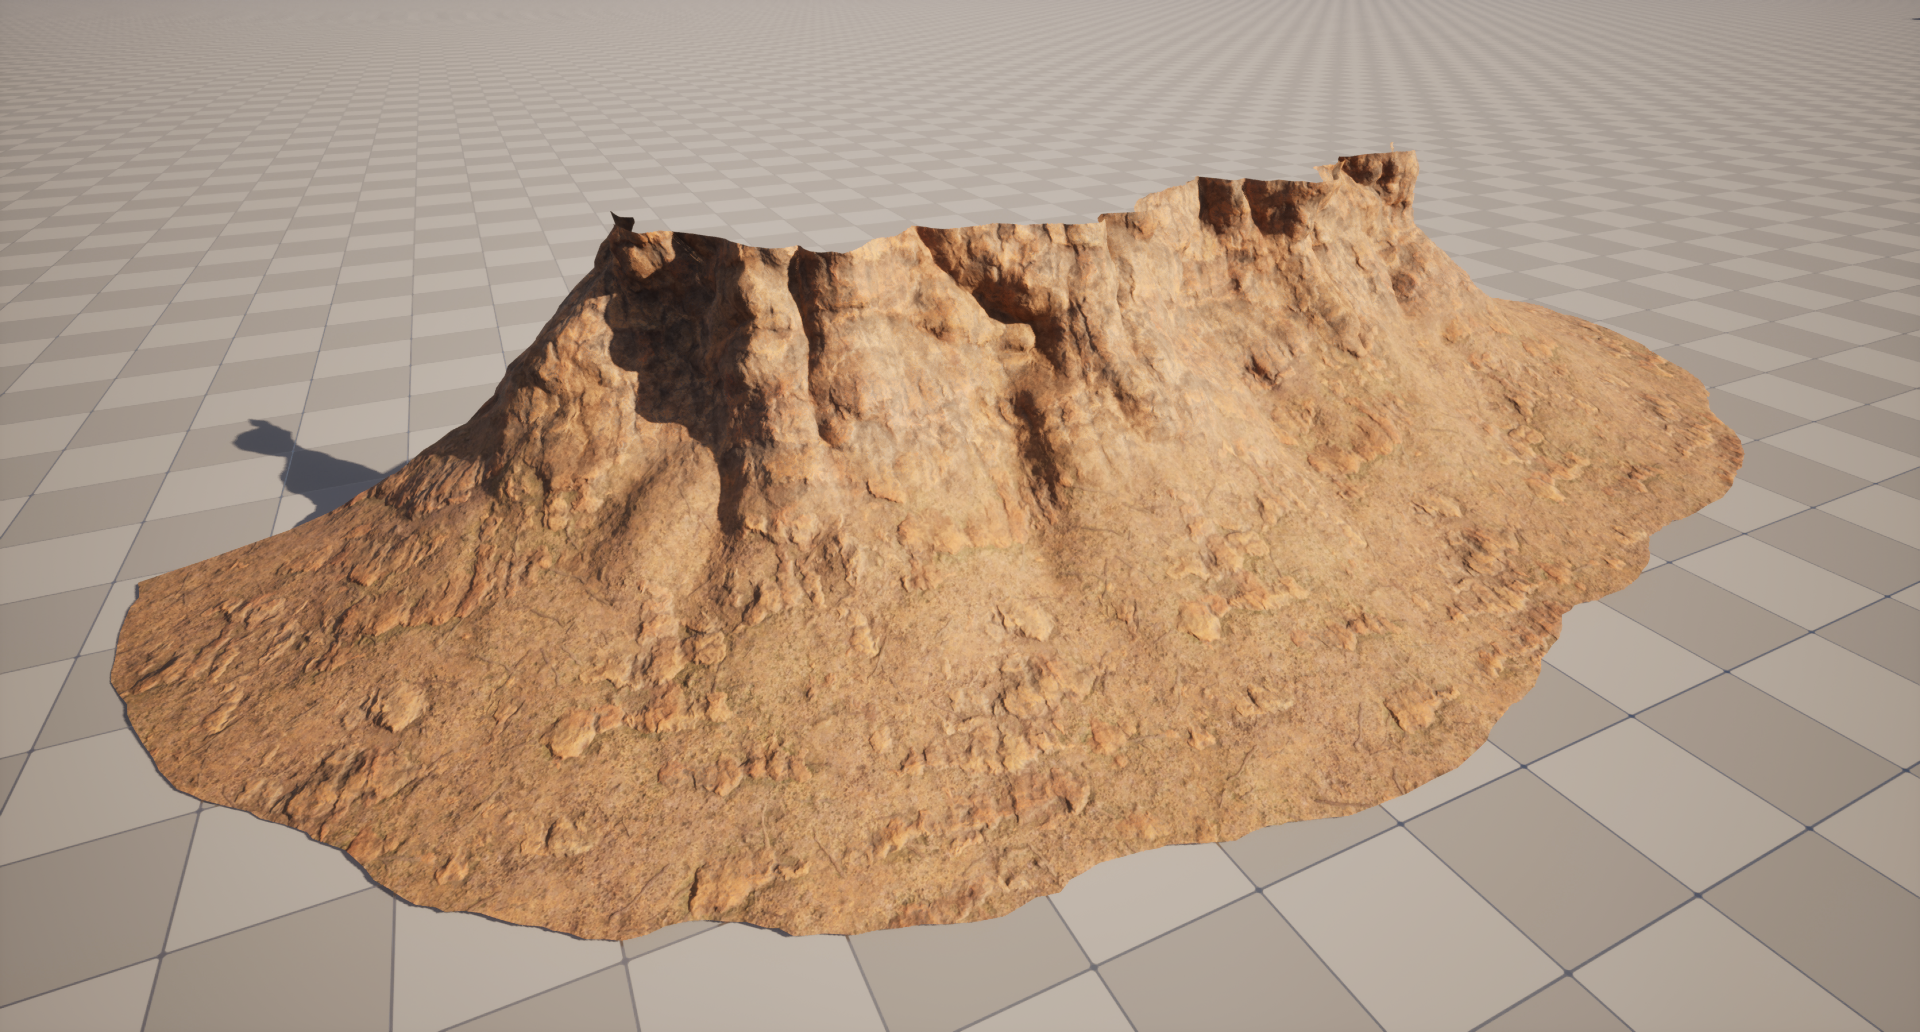
The shader inside Unreal uses the vertex color information to sample the textures in the mesh.
RVT are used for the landscape blend.

Edge Slope generation
This HDA is a variant of the previous one.
It uses a handrawed curve and the UV unwrapping follows the same rules as the other HDA.
As the previous one, it can receive a height map texture to bump the topology in order to fit the textures created by the texture artist.

Result
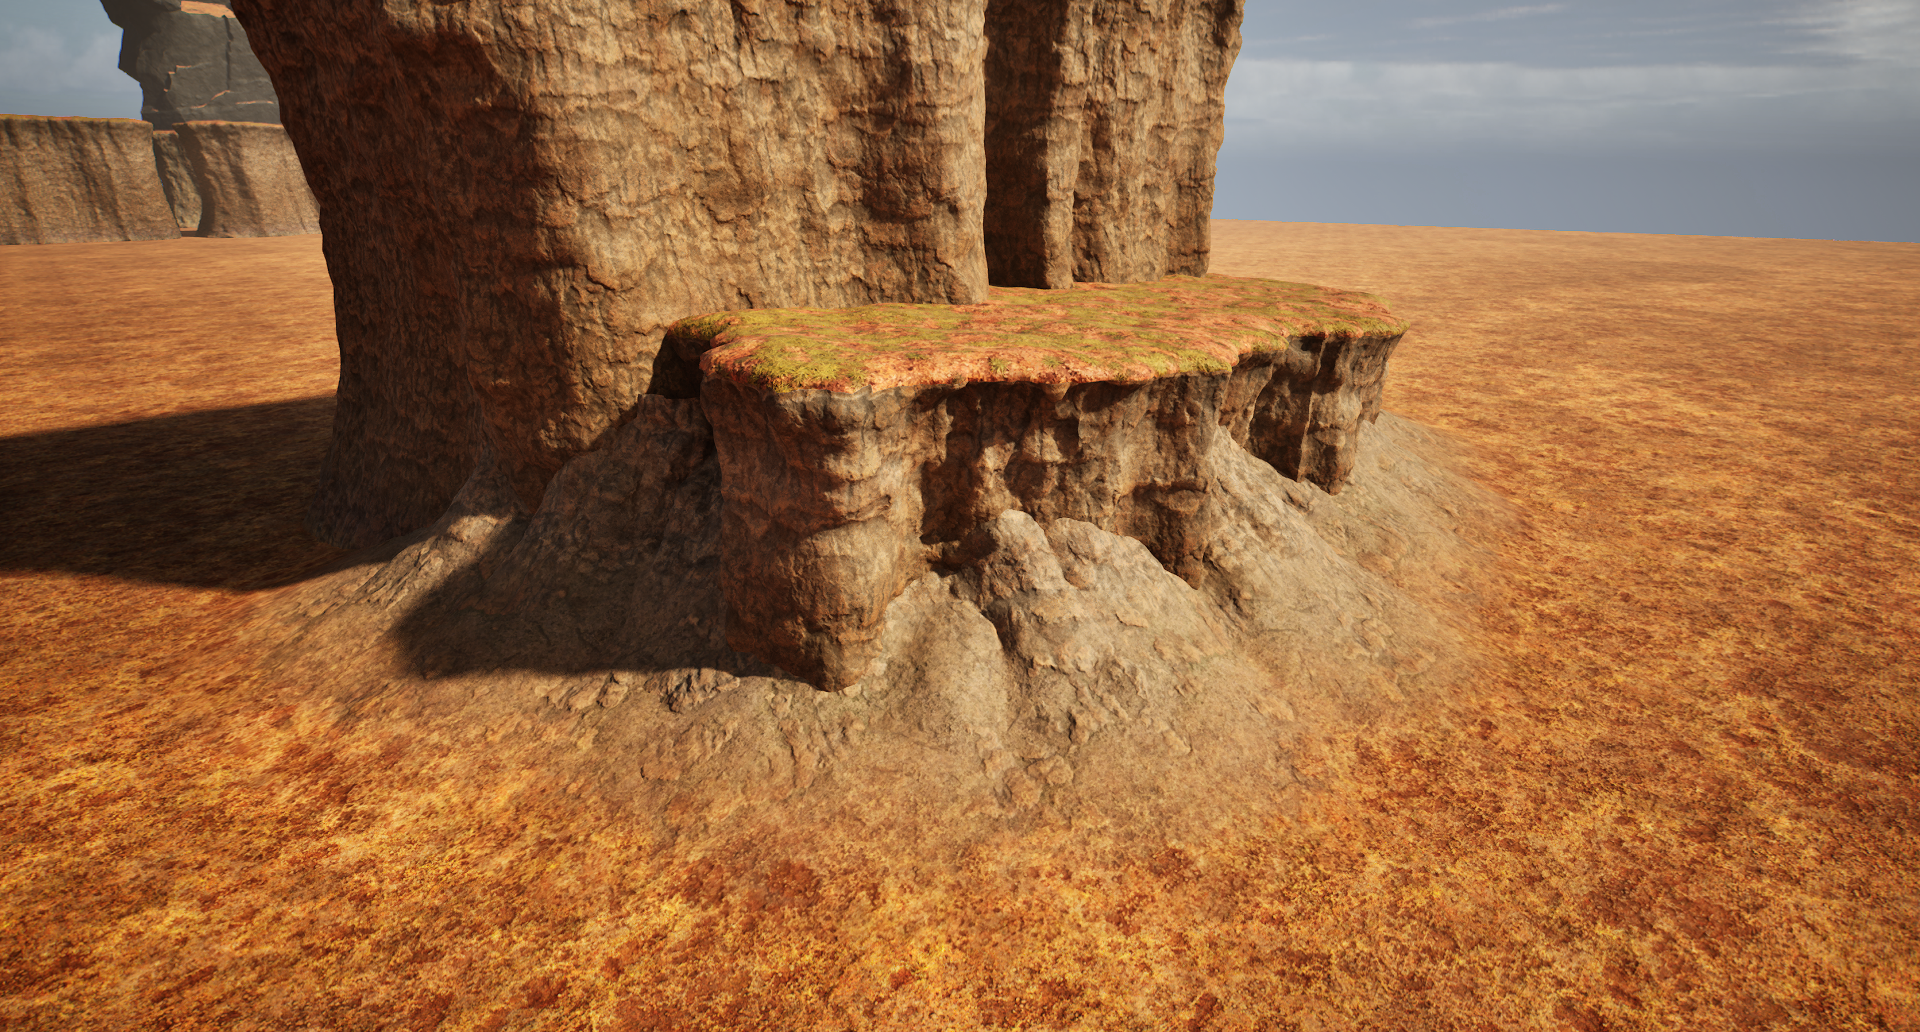
By mixing ground slopes and edge slopes together we can produce some interesting patterns and terrain damages.

Material Set Utility
Houdini is not implemented within our Unreal engine, so the material must be set by hand for every mesh.
As team import tens of meshes, set the material meshes individualy can be quite redundant, especially when iterating.
To fix this problem, I have made a simple material set function with Unreal editor utility widget.
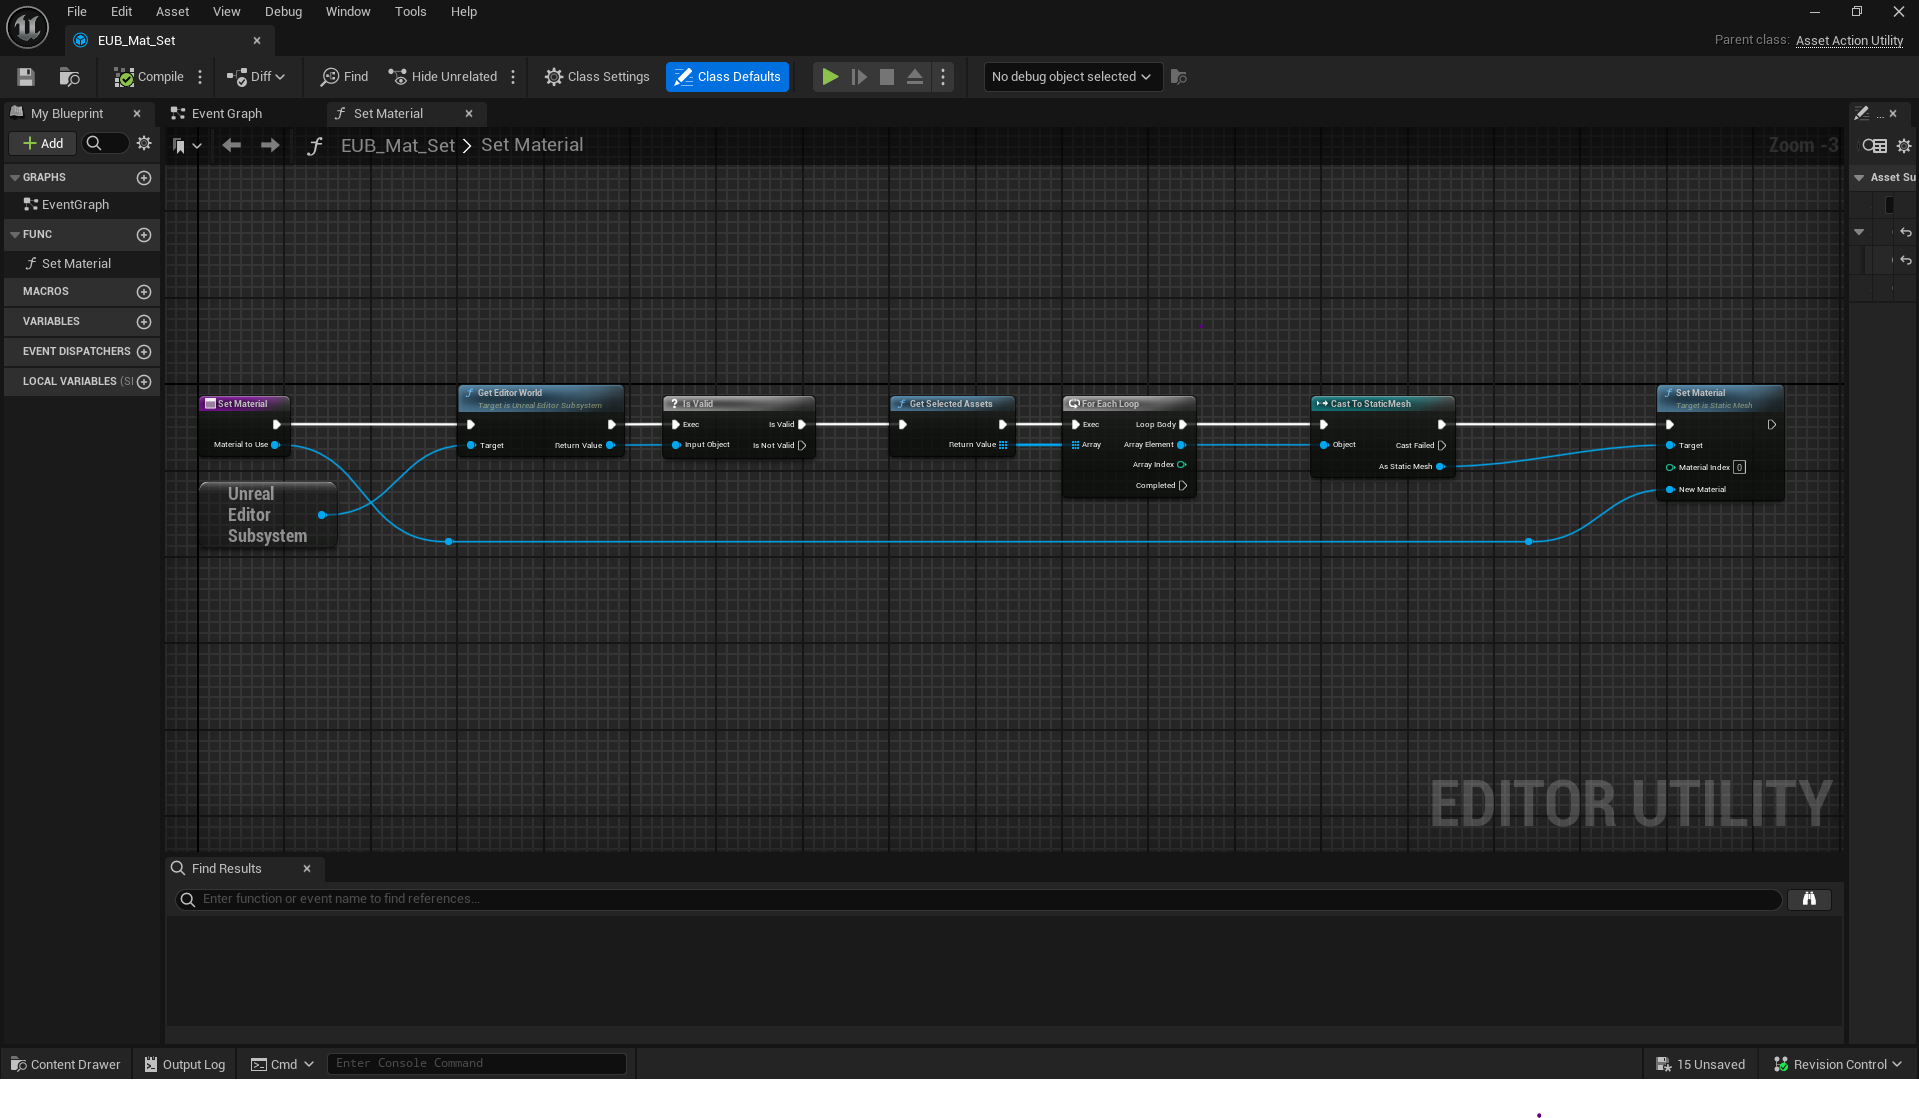

Showcase
The interesting feature with this one is that you can add input in your function that you can edit when calling it.
Technical VFX

Issue with usual rain
The main concern with rain is the cost of the numerous droplet and impact particles.
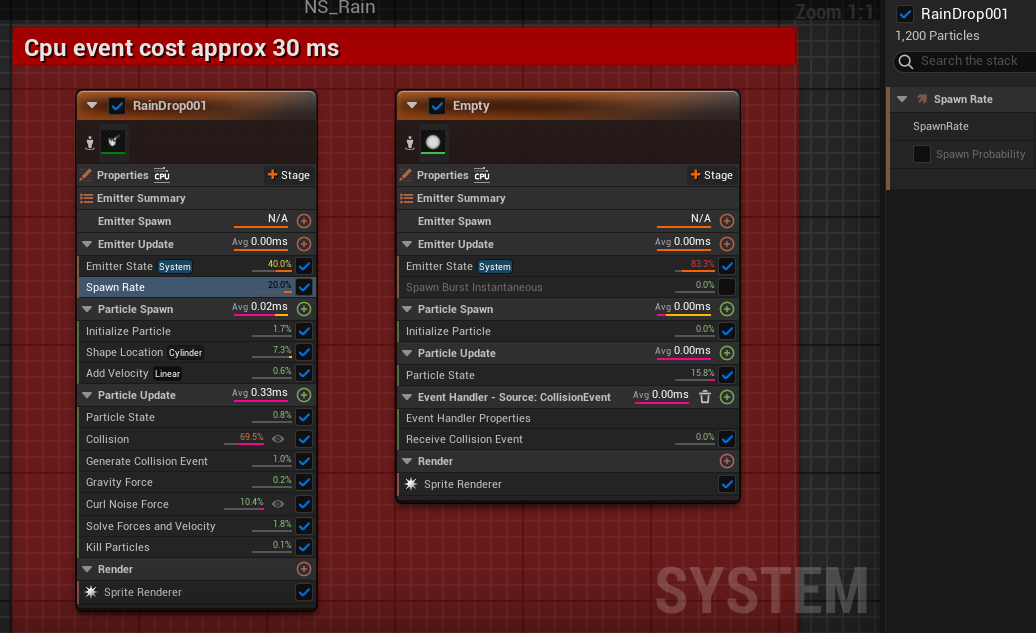
Usually people apply a forthright technique by using a CPU emitter for the drops, which in turn generate impact particles when they hit a surface.
CPU emitters, which use CPU collisions to generate events using an event handler, are not the right solution for runtime games as the CPU is too slow to process this many particles. Plus, the cost can be as high as 30 ms for mid-range hardware for only 1200 particles.

State machine
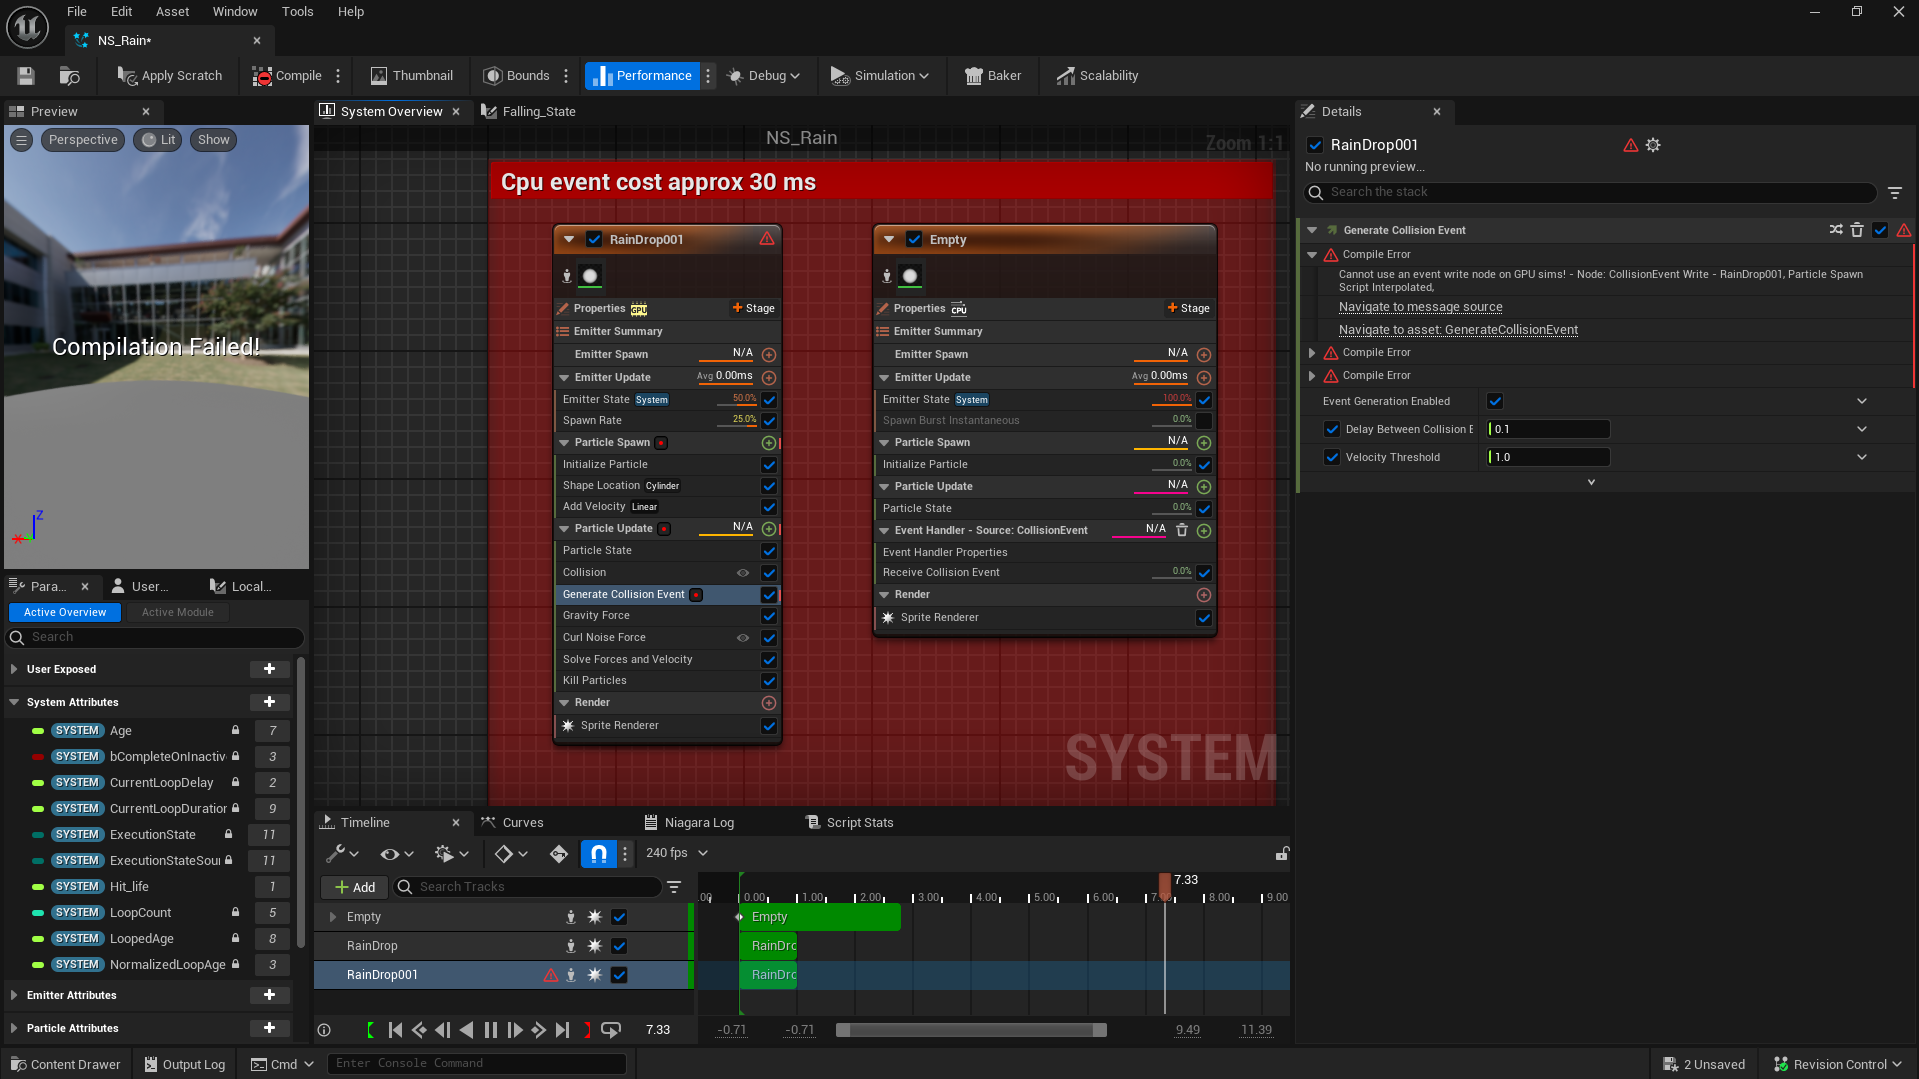
The GPU can simulate many particles but cannot take advantage of the event handler which requires CPU emitters.
One solution is to create a state machine in the particle system so that a particle can adopt both drop and impact behavior.
This idea is executed using a Niagara enumerator.

Implementation
By default, particles are in the “falling” state, which sets the default gravity force and retains the default sprite size and texture.
The GPU emitter uses SDF (signed distance fields) to control collisions. This type of collision is imprecise but is appreciated for its low performance cost.
Once a particle has undergone a collision, it enters the “Hit” state.

Hit State
The “Hit” state creates a new particle behavior. It changes its velocity, texture, size, and it also induces a new lifetime management logic.

Result and cost
This system enable to run the rain VFX at low cost performance with only 0.02 ms for 7000 simultaneously alive particles.

Possibilities
State machines can be extended to create more complex systems, as it is the case in the game Ghost of Tsushima which uses state particle systems to manage the behavior of wildlife in their world.
Clip from :
GDC Blowing from the West: Simulating Wind in ‘Ghost of Tsushima’
Link : https://youtu.be/d61_o4CGQd8?si=5VPHpZ1y2JKkee_6&t=593
